

This blog will show you how to use dynamic DNS with Cloudflare. The purpose of dynamic DNS, DDNS, is to update your public DNS provider in the case the service you host is behind a changing public IP. Without DDNS, once your public IP changes, the service behind that public IP won’t be reachable via DNS. In this post after DDNS is setup with Cloudflare, I use ddclient on Ubuntu server. This will use an API key with Cloudflare to login and update the public IP I’m using for hosting to keep https://calc.powersjo.com up to date.
Cloudflare Setup
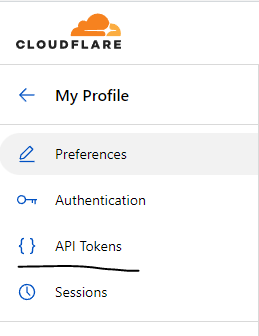
In order to dynamically update the DNS record in Cloudflare, you must be able to login and make changes to your DNS record. This can be automated with ddclient and an API token. I used this guide here as a reference. First, login to Cloudflare > My profile > then API tokens.
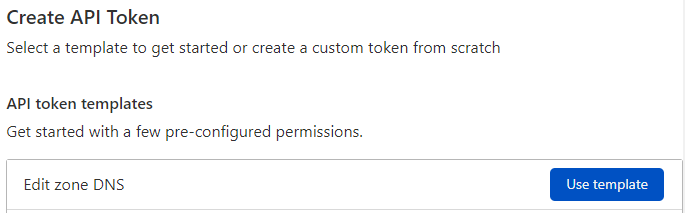
Click on ‘Create Token’ and use the ‘Edit zone DNS’ template.
Select the zone, the appropriate domain and then click ‘Continue to summary’. Select ‘Create Token’.
Save the token for the Cloudflare API for reference later. This is essentially the servers password to change the DNS record.
You are also going to need your Cloudflare API Zone ID. I found this after going into my domain in Cloudflare and in the ‘Overview’, on the right hand column, scrolling all the way down.
ddclient on Ubuntu
Next step is to get back to a server to install ddclient to use that API token. In this example, I’m installing this on an Ubuntu server.
sudo apt install ddclient libdata-validate-ip-perlFor reference, I used this blog here to get me started. After the install completes, a script runs to configure the ddclient. I chose the ‘other’ DNS service provider.
I moved my ddclient.conf to /etc/ddclient/ and this is what it looks like. This is a slight change from my referenced document because instead of a login email, I use an API Zone ID. I believe at the time of this blog the ID is required, not the email. Note, the ‘#’ symbol begins a comment.
# Configuration file for ddclient generated by debconf
#
# /etc/ddclient/ddclient.conf

syslog=yes  # log the output to syslog

##
## Global Config
##
daemon=150
ssl=yes
pid=/var/run/ddclient.pid

protocol=cloudflare

use=web
web=ipinfo.io/ip
login= ## Update Me with the API Zone ID
password= ## Update Me with your zone's cloudflare API Token
zone= ## Update Me with the domain
calc.powersjo.com ## Update Me with the subdomain
The above config didn’t generate errors when I ran the following checks:
sudo service ddclient restart
sudo ddclient -query
sudo ddclient -daemon=0 -verbose -noquiet
sudo service ddclient status
Finally, you now have a DNS record that will be updated in Cloudflare in the case of a public IP change!
Check out my previous post here to learn about Lighttpd webserver on Ubuntu.
Enter your address to subscribe to this blog and receive notifications of new posts!
People get crypto to read and post blogs. Publish0x is like Medium but the author and the reader get tips. Use my referral link below and check it out.
God bless you!
You must be logged in to post a comment.